
Setting up a development environment can be a tedious and time-consuming task. It requires installing and configuring various tools and dependencies. However, with Warden, you can set up your development environment in seconds
What is warden ?
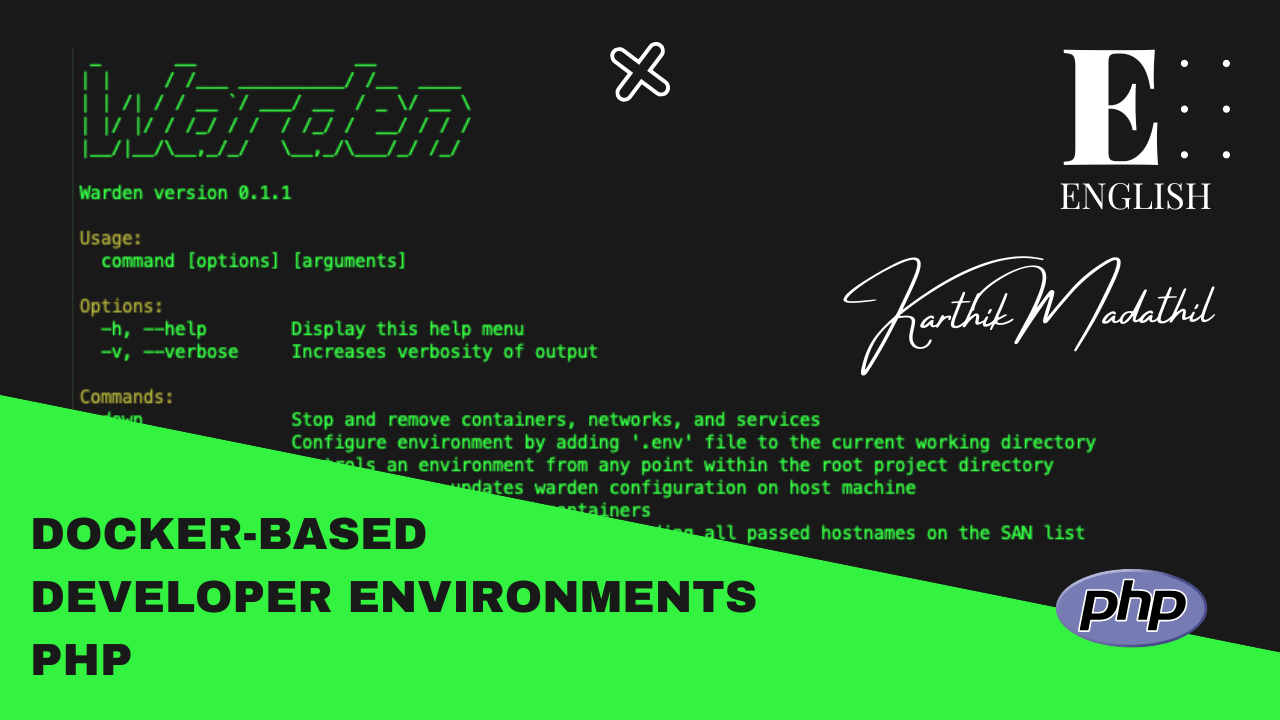
Warden is a CLI utility for orchestrating Docker-based developer environments. It enables multiple local environments to run simultaneously without port conflicts via the use of a few centrally run services for proxying requests into the correct environment’s containers. Warden has features like Traefik for SSL termination and routing/proxying requests into the correct containers, Portainer for quick visibility into what’s running inside the local Docker host, Dnsmasq to serve DNS responses for .test domains eliminating manual editing of /etc/hosts, and an SSH tunnel for connecting from Sequel Pro or TablePlus into any one of multiple running database containers.
Warden is easy to install and use. You can install it using Homebrew on macOS or Linux. Once installed, you can create a new environment by running the warden env-init <project_name> <environment_type> command. You can specify the environment type, Docker image, and other options using flags.
Prerequisites
Simply a Docker Desktop for Mac 2.2.0.0 or later or Docker for Linux or Docker for Windows To install Docker you can refer Official Docker Docs or refer some order sites
Installation
Here i’ll be discussing about installtion in Ubuntu ,For any other Os you can refer here .
Warden may be installed by cloning the repository to the directory of your choice and adding it to your $PATH. This method of installation may be when Homebrew does not already exist on your system or when preparing contributions to the Warden project.
1
2
3
4
5
6
sudo  mkdir  /opt/warden
sudo  chown  $(whoami)  /opt/warden
git  clone  -b  main  https://github.com/wardenenv/warden.git  /opt/warden
echo  'export  PATH="/opt/warden/bin:$PATH"'  >>  ~/.bashrc
PATH="/opt/warden/bin:$PATH"
warden  svc  up
#### Setting DNS Now configure your DNS to resolve *.test to 127.0.0.1 or use /etc/hosts
For that,
Edit Hosts by
sudo nano /etc/hosts
Then Add
127.0.0.1 *test

Note : By default while initialising a project warden make a host like
#### Install SSL Certificate
Download Certificate from
~/.warden/ssl/rootca/certs/ca.cert.pem
Copy to
/usr/local/share/ca-certificates
Import Certifiacate to browser (Chrome)
go to Chrome Settings -> Privacy And Security -> Manage Certificates (see more) -> Authorities -> Import and select ~/.warden/ssl/rootca/certs/ca.cert.pem for import, then reload the page.

Start Project
Initialise The environment
Goto any folder where you want to initialise the project
1
warden env-init <project_name> <environment_type>
Let check by installing wordpress.
1
warden env-init wptestwar wordpress
Now .env file will be created at the project root. This env file contains the configuration information of whole enviornment
On that you can change the environment configuration as your wish. Like your desired version PHP ,MYSQL etc.
Buid Project environment.
Use below command from the root directory to start the container.
1
  warden svc up
Initialise Project
Now download the wordpress files and extract to the project root directory Change wp-config.php configuration based on the auto generated .env file
Now visit wptestwar.test
For more installation instructions goto Docs
Conclusion
Warden is an excellent tool for developers who want to set up their development environment quickly and easily. With its features like Traefik, Portainer, Dnsmasq, and SSH tunnel, you can create multiple local environments without port conflicts and connect to them easily. and also provides Xdebug functionality & almost all variety of PHP environments such as -
I personaly use warden for all my projects even magento, So why not give it a try and see how it can simplify your development workflow?